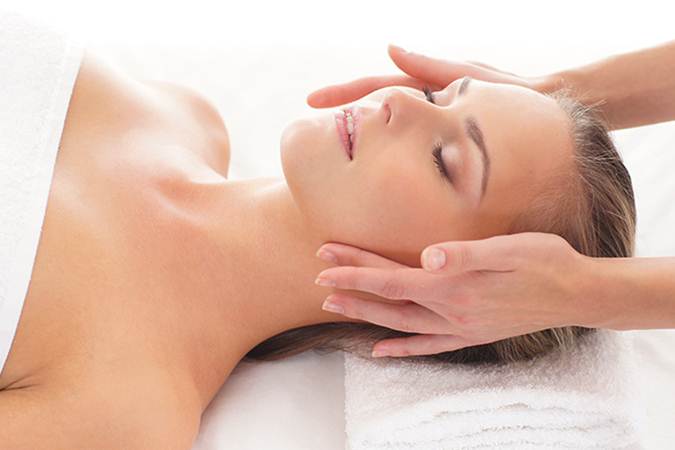
Ghee, also known as clarified butter, offers various benefits for the skin. Firstly, its moisturizing properties help hydrate and nourish the skin, making it an excellent natural moisturizer. The high concentration of vitamins A, D, E, and K present in ghee reduces dryness, promotes skin health, and improves skin elasticity. Ghee also contains antioxidants that protect the skin from free radicals damage, promoting a youthful appearance and reducing signs of aging. Additionally, its anti-inflammatory and antibacterial properties can reduce redness, soothe irritated skin, and alleviate certain skin conditions like dermatitis and eczema. Regular use of ghee can result in healthier-looking, softer, and smoother skin.
Benefits of ghee massage on face
Among its many uses, ghee can be used as a nourishing and natural ingredient for facial massage. Regular ghee massages on the face can help improve the tone, texture, and overall health of your skin. Here’s how to do a ghee massage on your face:
How to do a ghee massage on your face?

- Choose high-quality ghee: Opt for grass-fed, organic ghee to ensure you’re using the best quality product on your skin. This ensures that you’re getting the maximum benefits without any additives or harmful chemicals.
- Cleanse your face: Start by thoroughly cleansing your face with a gentle cleanser to remove any makeup, oil or dirt. Pat dry with a clean towel.
- Warm the ghee: Take a small amount of ghee, and warm it up slightly. You can do this by placing the ghee in a heatproof bowl and submerging it in warm water. Avoid overheating the ghee; it should be warm to the touch but not too hot.
- Apply the ghee: Once the ghee is warm, take a little bit on your fingertips and start applying it to your face. Begin with gentle, upward strokes, massaging the ghee into your skin. Focus on areas that need extra attention, such as fine lines, dry patches, or areas with pigmentation.
- Massage techniques: Use your fingertips to massage the ghee into your skin using circular motions. Start from the center of your face and work your way outwards. Pay extra attention to areas with tension or muscle knots, like the forehead, jawline and temples. Massage each area for about two-three minutes to help the ghee penetrate deeper into your skin and improve blood circulation.
- Leave it on or wash off: Depending on your choice, you can either leave the natural ghee on your face for a few hours or overnight to allow it to deeply moisturize your skin. Alternatively, you can wash it off after the massage. If you choose to leave it on, make sure to use a clean pillowcase to avoid any stains.
- Follow up with skincare routine: After the massage, continue with your regular skincare routine. You can apply a moisturizer, serum or toner to seal in the benefits of the ghee and provide extra hydration to your skin.
- Repeat regularly: For best results, repeat the natural ghee massage on your face regularly. Aim for at least once or twice a week to maintain glowing and healthy skin.
Remember, everyone’s skin is different, so it’s very important to patch test the ghee on a small area of your skin before applying it to your face area. If you experience any discomfort or irritation, discontinue use immediately.
Incorporating a ghee massage into your skincare can offer a multitude of benefits for your skin. From nourishing and moisturizing to reducing signs of aging and improving skin texture, ghee can be a wonderful remedy to your natural beauty regimen.


